


Hadoop Installation
Hadoop Installation
This basic tutorial is based on the Ubuntu system as an installation environment. To reduce unnecessary trouble, please install Ubuntu and boot into the system. Java must also be installed.
1/. Adding a Hadoop System User Group and User Use the following command to create a user group by executing the following command in the terminal:
sudo addgroup hadoop_
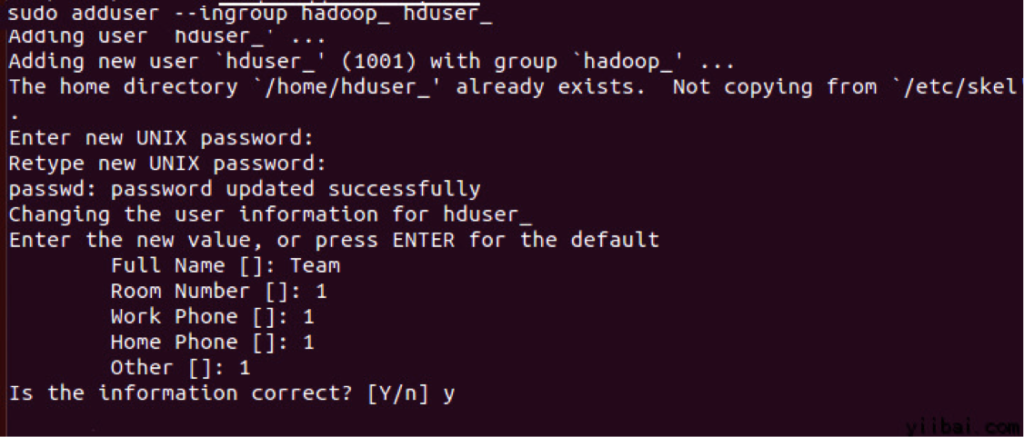
Use the following command to add a user:
sudo adduser --ingroup hadoop_ hduser_
2/. configure SSH In order to
manage nodes in the cluster, Hadoop needs SSH access. First, switch users and
enter the following command
su hduser_
The following command will create a new key.
ssh-keygen -t rsa -P ""
Use this key to enable SSH access to the local machine.
cat /home/hduser_/.ssd/id_rsa.pub >> /home/hduser_/.ssh/authorized_keys
Now, test the SSH settings to connect to locahost via the “hduser” user.
ssh localhost

Note that if you see the following error response after executing the ‘ssh localhost’ command, SSH may not be available on this system.

To solve the above problem, re-install the SSH service
sudo apt-get purge openssh-server
sudo apt-get install openssh-server
3/. download Hadoop Open the URL in the browser: http://hadoop.apache.org/releases.html
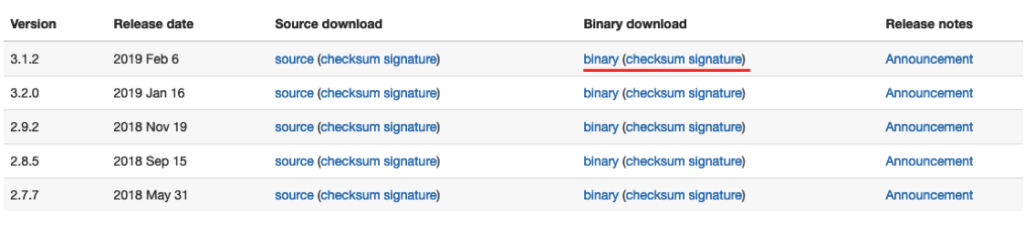
After the download is complete, the file is placed by default in /home/username/Downloads
sudo tar xzf hadoop-3.1.2.tar.gz
sudo mv hadoop-3.1.2 /usr/local/hadoop
cd /usr/local
sudo chown -R hduser_:hadoop_ hadoop
At this point, the relevant work for the hadoop file is ready, and we have to do some key settings.
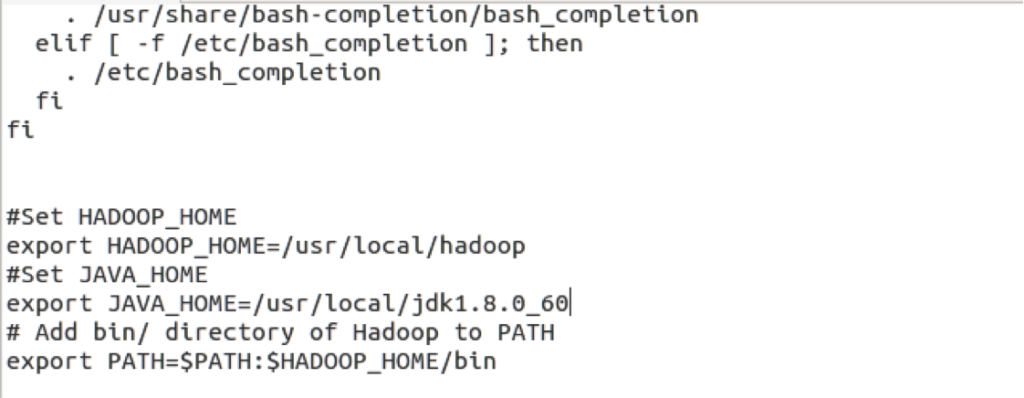
4/. modify the ~/.bashrc file Add the following lines to the end of the ~/.bashrc file as follows:
nano ~/.bashrc
Now use the following command environment configuration
. ~/.bashrc
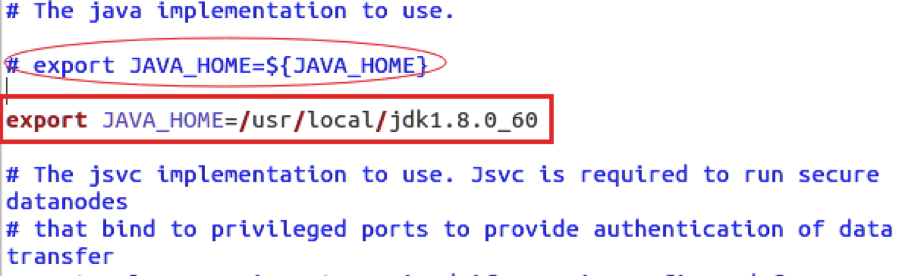
5/. Configuring the associated HDFS settings JAVA_HOME In the file
/usr/local/hadoop/etc/hadoop/hadoop-env.sh, use the following line instead, that is, write the full Java installation path. As follows:
There are two more parameters to
set in the $HADOOP_HOME/etc/hadoop/core-site.xml file:
1. ‘hadoop.tmp.dir’ – Used to specify a directory for Hadoop to store its data files.
2. ‘fs.default.name’ – specify the default file system In order to set two parameters, open the file core-site.xml
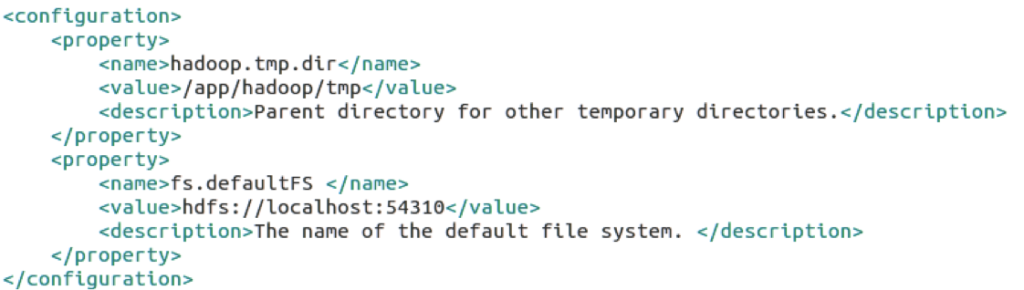
sudo nano /usr/local/hadoop/etc/hadoop/core-site.xml
Copy the contents of all the following lines into the middle of the tag <configuration></configuration>.
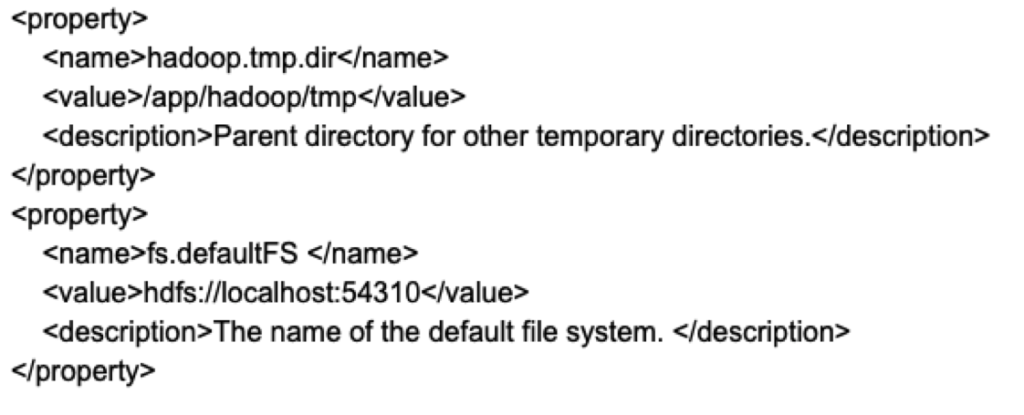
The result is shown below:
sudo nano /usr/local/hadoop/etc/hadoop/hadoop-env.sh
sudo nano /usr/local/hadoop/etc/hadoop/core-site.xml
Go to the directory: /usr/local/hadoop/etc/hadoop and use the following command:
cd /usr/local/hadoop/etc/hadoop
Now create a directory, such as the directory used in core-site.xml above: /app/hadoop/tmp
sudo mkdir -p /app/hadoop/tmp
Grant the permissions directory /app/hadoop/tmp and execute the following command:
sudo chown -R hduser_:hadoop_ /app/hadoop/tmp
sudo chmod 750 /app/hadoop/tmp
6/. Map Reduce configuration
Before setting this configuration, we need to set the path to HADOOP_HOME and execute the following command:
sudo nano/etc/profile.d/hadoop.sh
Then enter the following line,
export HADOOP_HOME=/usr/local/hadoop
Then execute the following command
sudo chmod +x /etc/profile.d/hadoop.sh
Exit the command line terminal and enter again and enter the following command: echo $HADOOP_HOME to verify the path to hadoop :
echo $HADOOP_HOME
/usr/local/hadoop
Now copy the file and execute the following command:
sudo cp $HADOOP_HOME/etc/hadoop/mapred-site.xml.template $HADOOP_HOME/etc/hadoop/mapred-site.xml
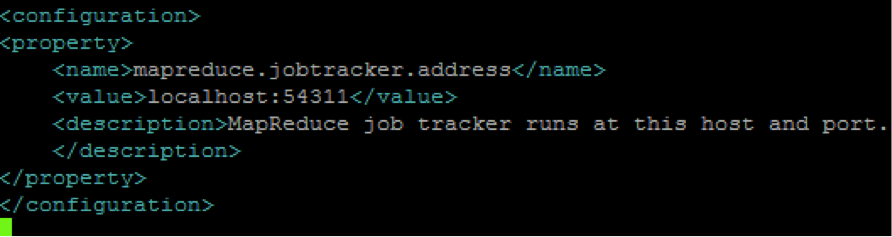
sudo nano $HADOOP_HOME/etc/hadoop/mapred-site.xml
Add the following settings to the tags <configuration> and </configuration> as shown below:
sudo nano $HADOOP_HOME/etc/hadoop/hdfs-site.xml
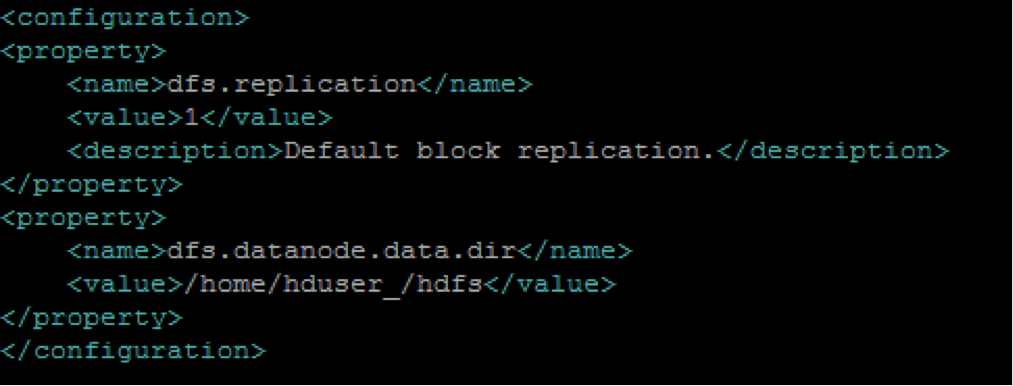
Create the directory specified by the above configuration and authorize the directory to the user, using the following command:
sudo mkdir -p /home/hduser_/hdfs
sudo chown -R hduser_:hadoop_ /home/hduser_/hdfs
sudo chmod 750 /home/hduser_/hdfs
7/. Format HDFS
Before using Hadoop first, you need to format HDFS first, using the following command.
$HADOOP_HOME/bin/hdfs namenode -format
The results of the execution are shown below:
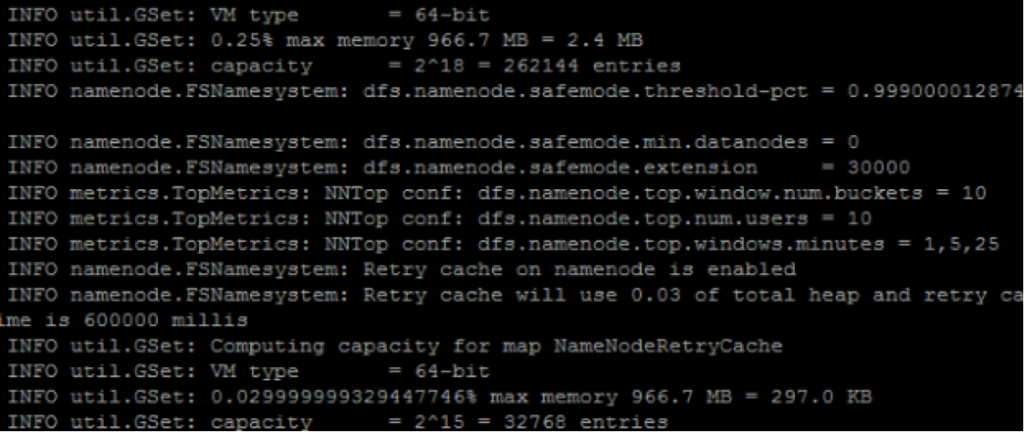

Enter: y, continue …
Note: You may encounter some prompt errors: “java.io.IOException: Cannot create directory /app/hadoop/tmp/dfs/name/current…”, execute the following command to create a directory:
sudo mkdir -p /app/hadoop/tmp/dfs/name/current
sudo chmod -R a+w /app/hadoop/tmp/dfs/name/current/
8/. Start a single-node cluster of Hadoop
Start a single-node cluster of cHadoop (using the hduser_ user to start) with the following command, as follows:
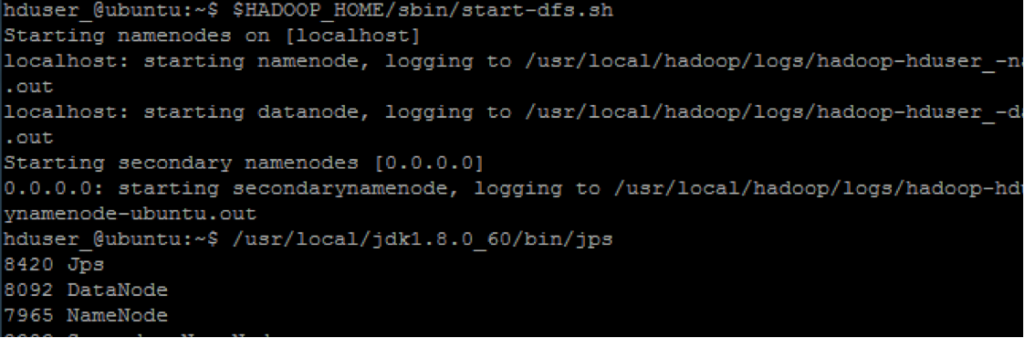
$HADOOP_HOME/sbin/start-dfs.sh
hduser_@ubuntu:~$ $HADOOP_HOME/sbin/start-yarn.sh
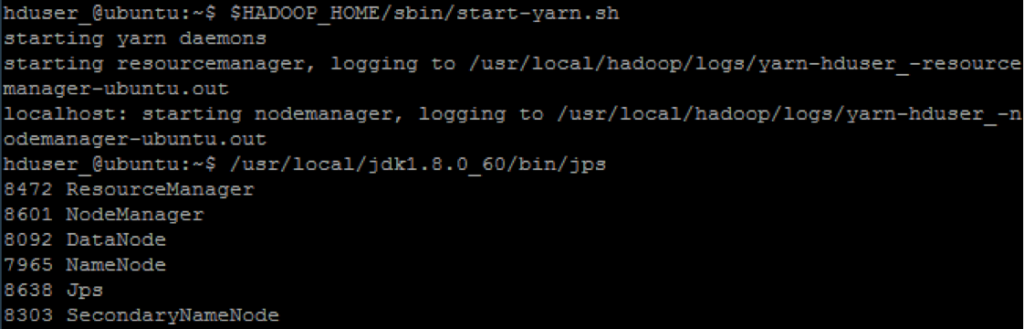
Now use the ‘jps’ tool/command to verify that all Hadoop-related processes are running.
/usr/local/jdk1.8.0_60/bin/jps
If Hadoop starts successfully, the jps output should show: NameNode, NodeManager, ResourceManager, SecondaryNameNode, DataNode.
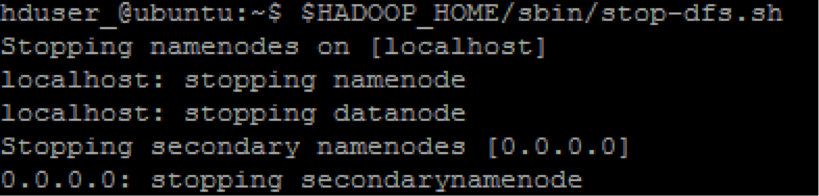
9/. Stop/close Hadoop
$HADOOP_HOME/sbin/stop-dfs.sh
$HADOOP_HOME/sbin/stop-yarn.sh

Related Post

THE DIGITAL MARKETING ERA: eCOMMERCE ANSWERS THE ‘CALL’
17:00 HKT | 29 APRIL 2020 WEBINAR https://landings.useinsider.com/en-hk/en-hk/ecommanswersthecall?utm_source=linkedin&utm_medium=social&utm_campaign=speakers-share-Kirsty&utm_content=webinar-HK-ecommerce-answers-the-call

Get Started with Social Media Marketing
According to the recorded data for 2020, over 3.6 billion…